
Table of Contents
We all, especially the WordPress developers & site admins, know very well that the website speed matters. Increasing and maintaining faster loading speed of a website made using WordPress is probably one of the most important tasks we do.

Using a content delivery network (CDN) definitely helps in that because it reduces the distance & website loading time for the users. There are several CDN providers in the market yet it’s not easy to finalize on one, simply because everyone claims themselves as #1 and the fastest.
Here is why using IBM Cloud CDN for your WordPress website a good idea & let’s see how you can use it.
Why use IBM Cloud CDN
The most important reason why I will pick IBM Cloud CDN is that they have got the largest & the widest CDN infrastructure in the world. With over 240,000 edge servers located across 130+ countries (1300+ cities), IBM Cloud CDN delivers almost everywhere with blazing fast speed.
There’s a general notion that IBM Cloud CDN is very expensive, which is not true, especially with their widest network at our disposal. Also, there is no fee for storage & we only pay for the bandwidth we use. Here’s a glimpse of IBM Cloud CDN pricing for various regions.
| Per Month | North America | Europe, Middle East, Africa | Asia | Japan | South America | Australia, New Zealand | India |
| First 10 TB | 0.085 per GB | 0.085 per GB | 0.14 per GB | 0.14 per GB | 0.25 per GB | 0.14 per GB | 0.17 per GB |
Apart from the several CDN features such as Origin pull & push, gzip, custom CNAMEs, the IBM Cloud CDN provides three key features.
- Add your own SSL without additional cost
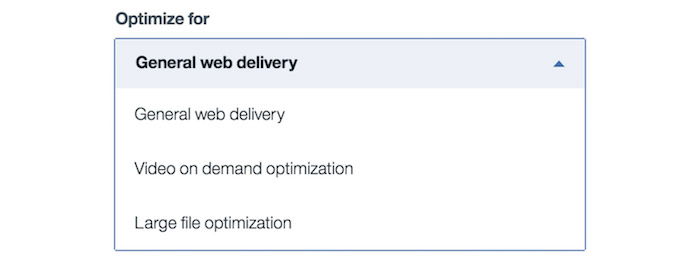
- Optimized delivery of large-size files
- High-performing optimized Video on demand across network types.
- Comprehensive analytics
Setting up IBM CDN
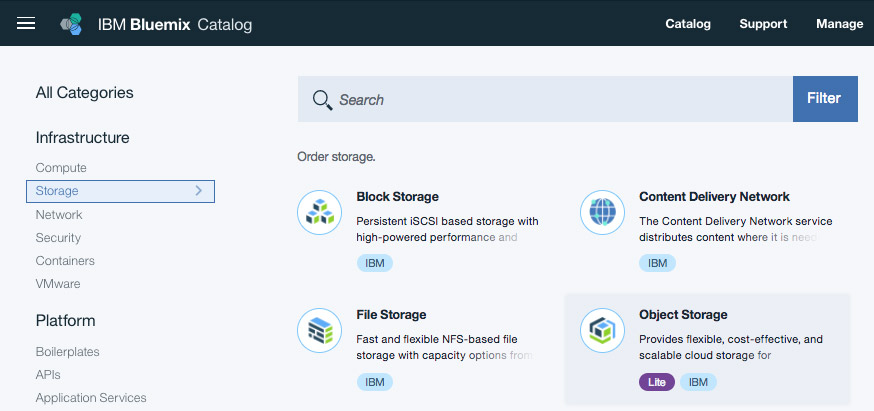
Step 1: Create a bucket using ‘Object Storage’
Go to the IBM Cloud dashboard & choose ‘Object Storage’ to create a new instance. Then click on ‘Create Bucket’ & give a related & easy to remember unique bucket name for your website. Example: techzoomorg-blog
Setting up IBM CDN
Step 1: Create a bucket using ‘Object Storage’
Go to the IBM Cloud dashboard & choose ‘Object Storage’ to create a new instance. Then click on ‘Create Bucket’ & give a related & easy to remember unique bucket name for your website. Example: techzoomorg-blog
Step 2: Create a CDN instance
Again go to the IBM Cloud dashboard & under the Network tab choose Content Delivery Network. Follow the configuration screens for further setup.
Provide the hostname such as ‘cdn.techzoom.org’ which is an identifier for you. Also, provide an appropriate custom CNAME such as ‘techzoomorg‘, so it becomes ‘techzoomorg.cdnedge.bluemix.net’. This is easy to remember. It’s optional and if you don’t provide anything here, one is automatically generated for you.
Step 3: Configure origin
In this section, we’ll have two options, Server & Object storage. We’ll use the object storage method.
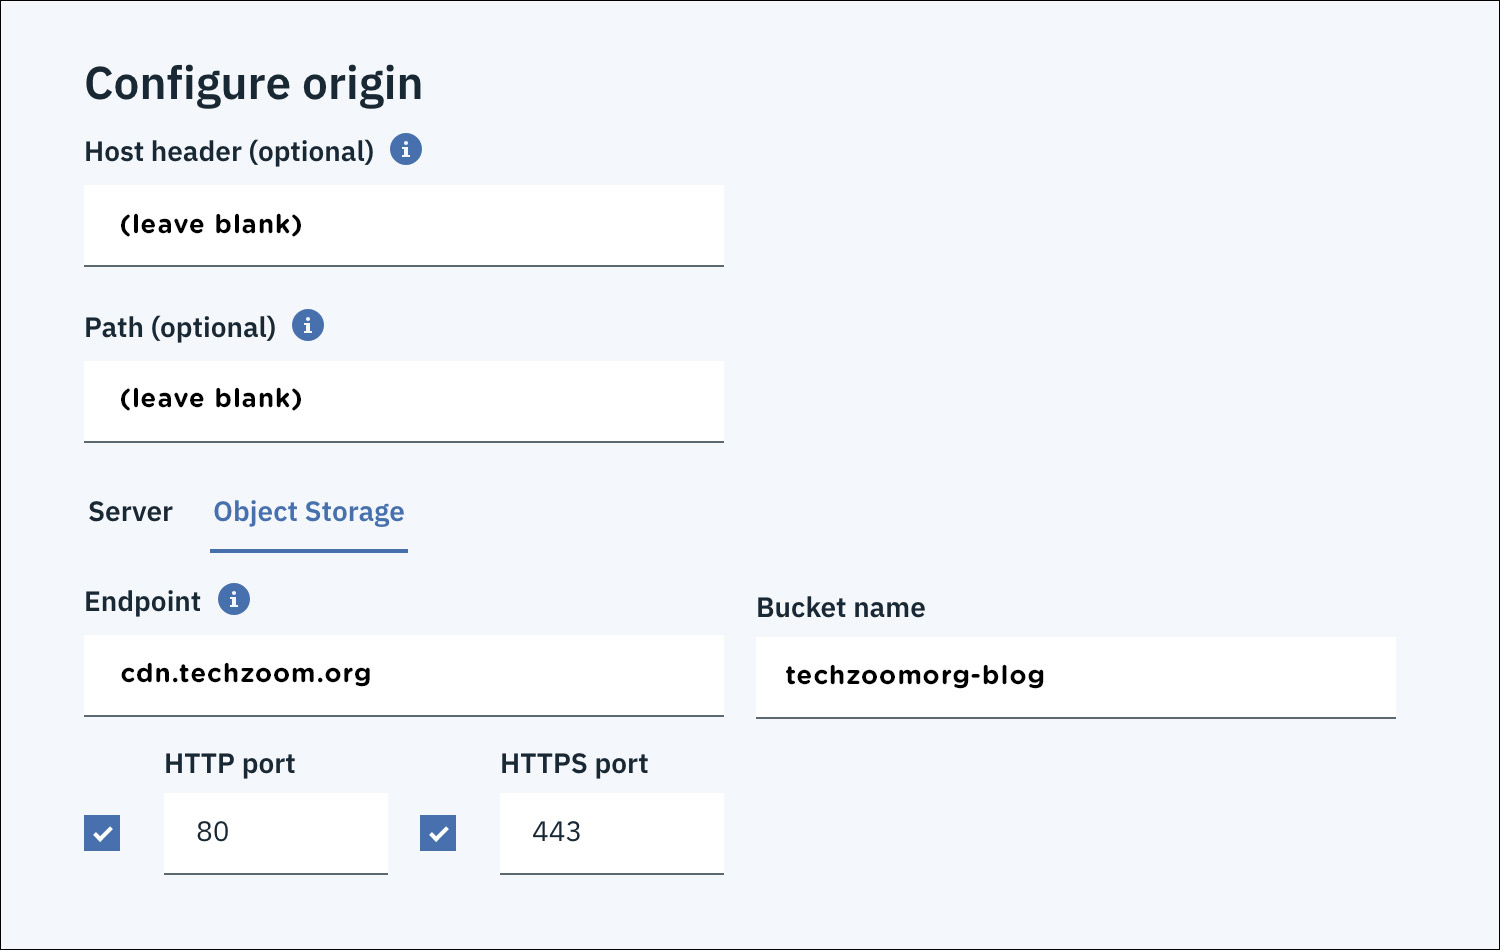
Host Header we can keep empty & it’ll default to the original hostname. We’ll also keep the Path field empty because we don’t want to restrict CDN & the users only to a specific folder. Just in case you wish to – mention the relative directory path here such as: /wp-content/uploads/*
Configure the Endpoint & Bucket name as shown. Bucket name should match the one we created in the first step.
You can choose HTTP & HTTPS protocol to use with your origin server. You can choose Wildcard SSL to use with your CNAME. If you need to use DV SAN Certificate, you can read more about domain validation here.
Then agree to the terms & conditions to create your CDN account.
Step 4: Using the CDN
Once created, the CDN instance will start under the CNAME validation state. At this point, you should point appropriate custom CNAME record in your DNS to the newly created IBM CDN URL.
| Type | Host | Points to (CNAME) | TTL |
| CNAME | cdn.techzoom.org | techzoomorg.cdnedge.bluemix.net | 15 minutes |
Using IBM Cloud CDN with your WordPress website
Now that our IBM Cloud CDN is up & running – we need to configure our WordPress website to take advantage of the same to speed things up. If you only want to use limited assets over the CDN, there is no special configuration required. You can simply upload files to the IBM Object Storage & use file links such as “https://cdn.techzoom.org/ibm-test.pdf” pointing to the same.
Step 5) Configure caching
Configure the origin paths under your IBM CDN instance. Go to CDN Overview & under ‘Origins’ tab click on the ‘Add Origin’ button. That opens a new dialog for further configuration.
For Host Header, add https://techzoom.org & for the Path use “/wp-content/uploads/*”. Use the appropriate settings & port numbers.
Step 6) Use WordPress Plugins
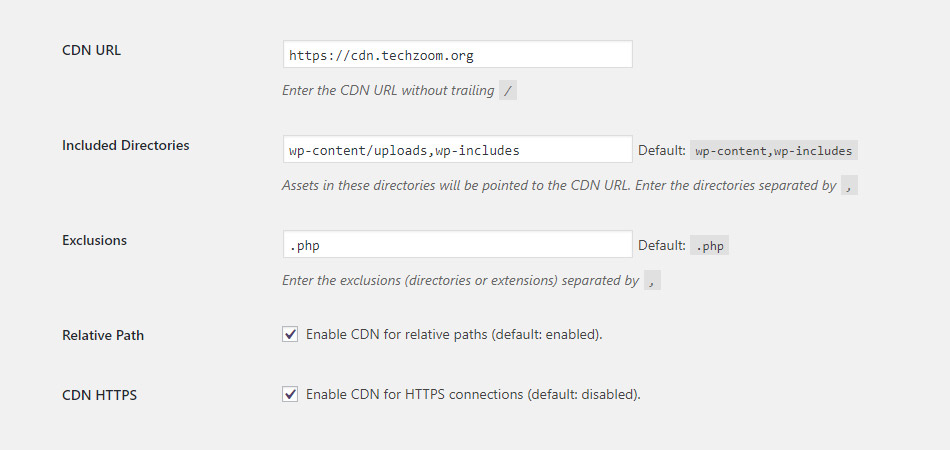
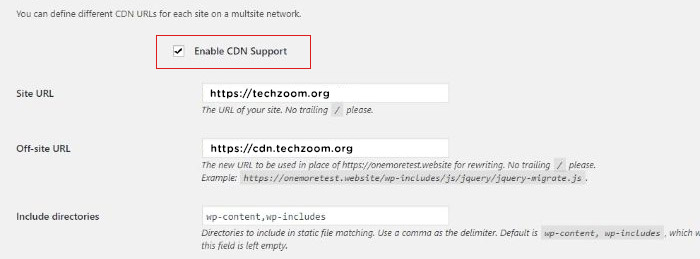
- Option 1) Use CDN Enabler Plugin
To configure CDN URL, use the CDN Enabler plugin & use the configuration as shown below.
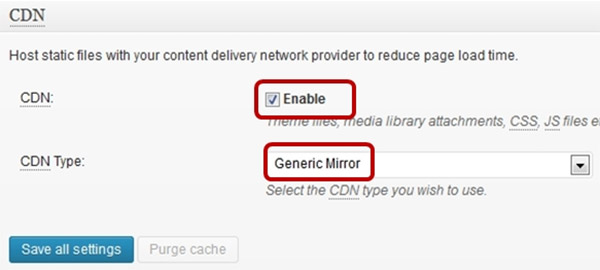
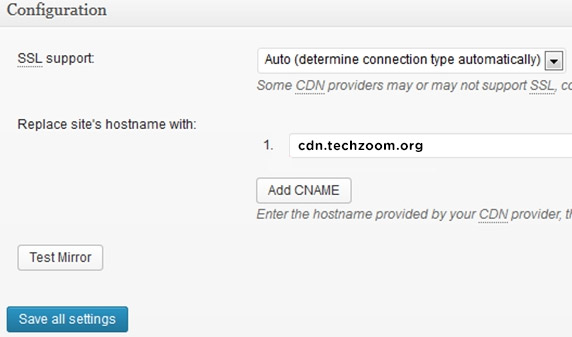
- Option 2) Using W3 Total Cache
You can also configure the CDN using W3 Total Cache. For this, use the “Generic Mirror” option from the list of CDN options under the ‘General Tab’ & then use CDN tab to configure further.
- Option 3) WP SuperCache
Another option to configure IBM Cloud CDN for your WordPress website is using the WP SuperCache plugin. Go to the CDN tab & enable CDN support.
There are several attributes to manage your IBM Cloud CDN & how you can optimize the delivery of various file formats, caching etc. The IBM Cloud CDN pull files from the origin server when the user first requests for it & then caches it for other users. The file is also pulled if it does not exist or, is already expired.
As mentioned earlier, powered by Akamai, the IBM Cloud CDN has the world’s largest content delivery network and, using the same will definitely speed up your WordPress website, no matter where it is hosted. Do read our earlier article on hosting your WordPress website on IBM Cloud. If you’ve any questions about combining the power of IBM Cloud CDN with your WordPress site, feel free to comment below.


